
It was $9.99 at Target.
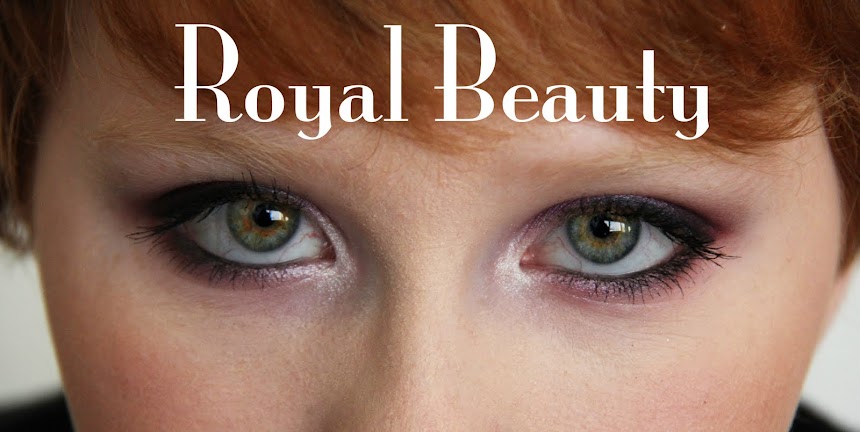
MY PROBLEM: Ok, so here is the dealio. I, as you all can tell, have very very fair skin. So, foundation is a very tricky thing to find for me that goes with my skin color... The one I have right now is the Estee Lauder Double Wear Stay-in-Place Makeup SPF 10, and even the lightest shade they had is too dark. When we bought it we couldn't really tell in the store, but if there is too much put on, my face can look very orange (gross!). I used to use a standard foundation brush, but no matter how little product I tried to use, it always came out too much and too thick and too dark! So, I started looking into different ways that professional makeup artists like to put on foundation; some like foundation brushes, some like sponge wedges, some like to just use their fingers, or a stippling brush, or a BEAUTY BLENDER...
SOLUTION: This blending sponge was the heavenly answer to my problem... it is unbelievable! It still gets me the full-coverage that I want when I put on my foundation, and it is flawless! It applies it evenly without using so much product. (And even though my foundation is still a shade or two darker than my skin, this helps and makes a huge difference, so that it actually looks very close to what it should be because its not so thick.)
HOW TO USE: You can pretty much use this any way you want, but I am going to tell you how I use it. First step, wash your hands!!! Then, I pour out a less-than-dime-size portion of the foundation onto the back of my hand. And take my finger and dip it into the foundation on my hand and put dots of the foundation on the main areas of my face (cheeks, nose, chin, forehead...). Next, I get my blending sponge damp, and with it, just lightly pat the dots of foundation and spread it out so it covers the entirety of my face. If you want you can pour out a little more foundation and go over it again to get any trouble spots or areas that you might have missed. BLEND it up to your hair line, out past the jawline, and down your neck a little - you can do this using the same patting method, or rolling the sponge from one side to another to maybe get a smoother blending application.
GRADE: A ++
FINAL THOUGHTS: GO GET ONE!:) This is a great product, and it gives you the flawless, airbrushed look that we all want!
Email me if you have any further questions! royalbeautymakeup3@gmail.com
No comments:
Post a Comment